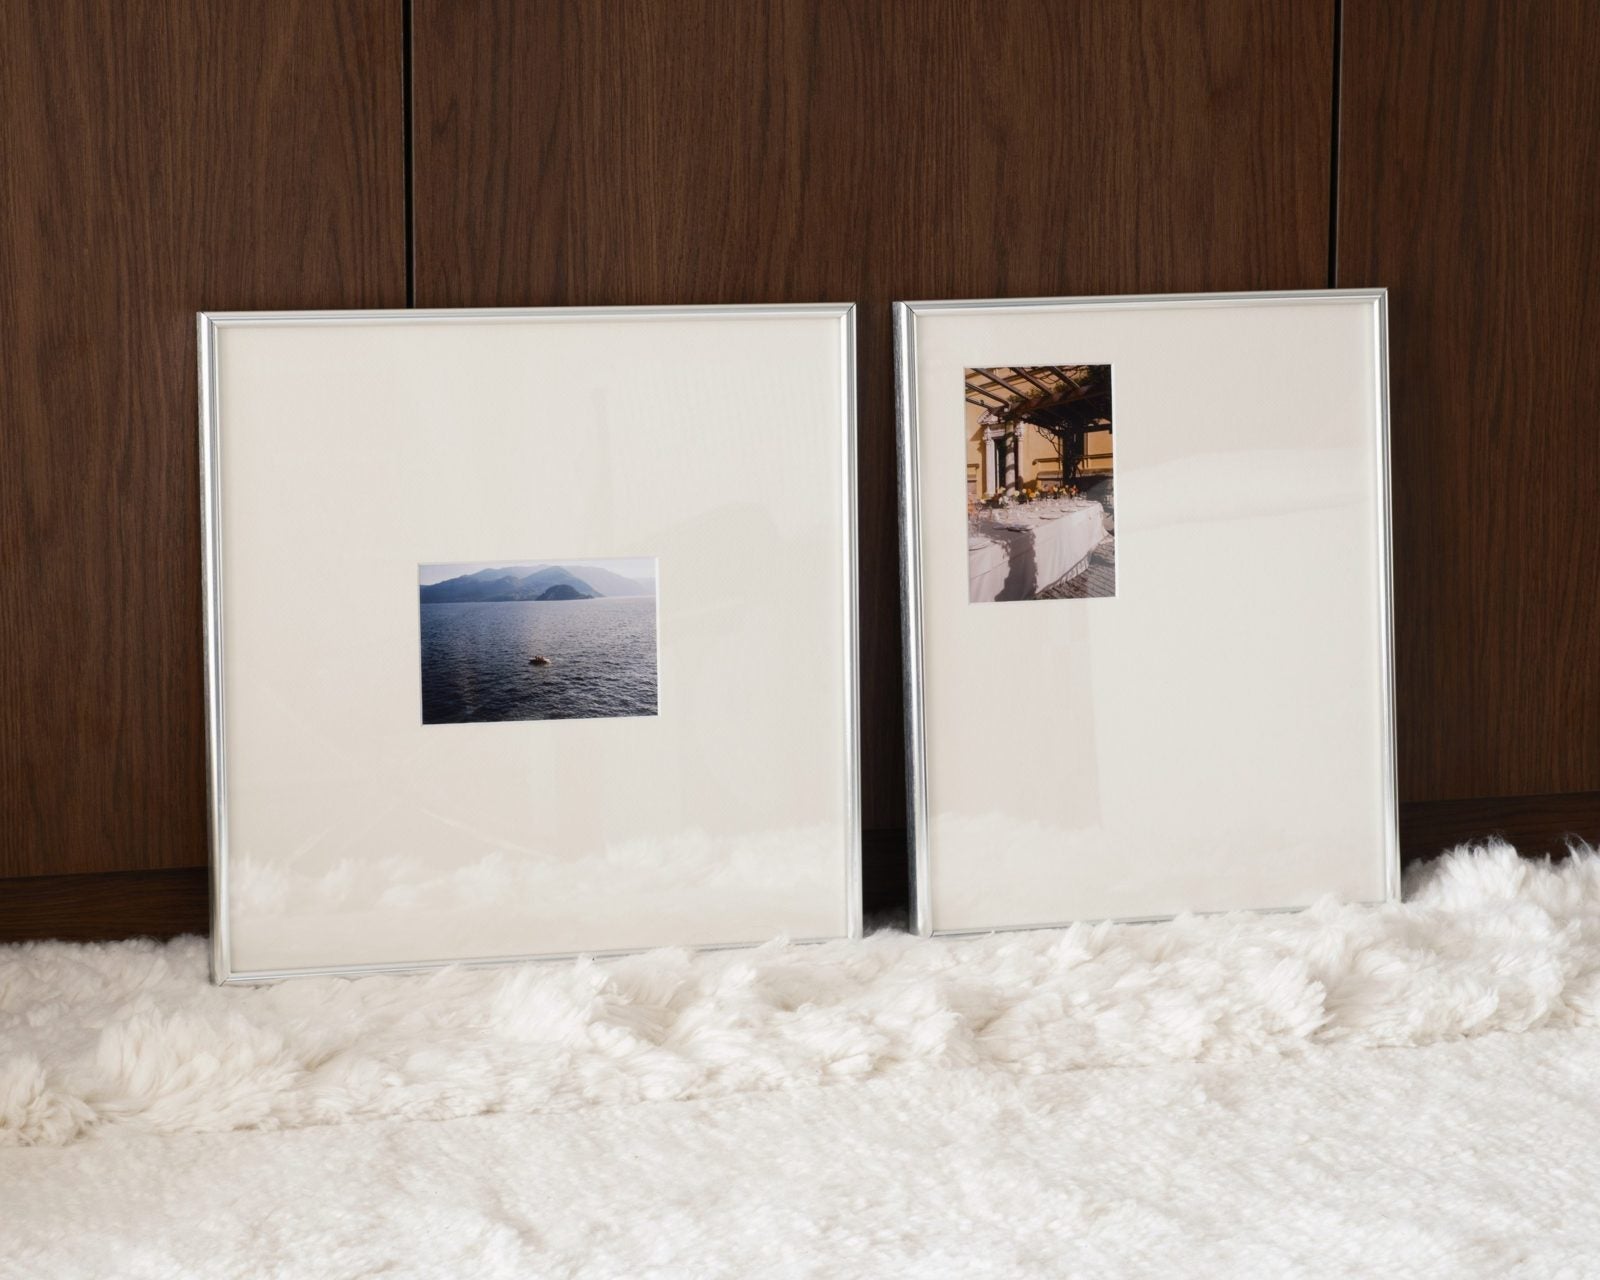
Hanging & Care.
Hanging, adding your own photo, and looking after your frame. Stuck on something? Email hello@visionseditions.com and we'll walk you through it.
Ready to hang.
Every frame arrives ready to hang, with sawtooth hangers fitted for portrait or landscape.
Wall hooks aren't included. The heaviest frame weighs about 1.5kg, so use a hook rated for at least that.
Or skip the wall and lean it on a shelf or sideboard.
Adding your own photo.
Ordered with a printed photo? It arrives fitted behind the mat, so there's nothing to do but hang it.
Adding your own, or swapping it later? Your photo sits behind the mat, held with two small pieces of low-tack tape, like washi or artist's tape. It lifts off cleanly without marking the mat.
Walnut, Teak & Merlot
- Lay the frame face down on something soft, like a tea towel on the kitchen bench.
- Lift the tabs around the back and take out the backing board.
- Place your photo face down over the mat window and hold it with two small pieces of low-tack tape.
- Put the backing board back in and press the tabs down.
Chrome
- Lay the frame face down on something soft, like a tea towel on the kitchen bench.
- With the flat-head, ease out the black rubber strips around the back.
- Choose one side. At each end, loosen the corner screw (turn left), then slide that side off. The metal edges can be sharp, so take your time.
- Slide out the glass, mat and backing board together.
- Place your photo face down over the mat window and hold it with two small pieces of low-tack tape.
- Slide everything back in and refit the side. Press the edges together at each corner while you tighten (turn right). Snug is enough.
- Press the rubber strips back in. If the gap is very small, you can leave them out.
Bare
- Open the frame the same way as your finish: Walnut, Teak and Merlot from the back, Chrome from the side.
- Arrange your piece on the mat wherever it looks right.
- Hold it with small pieces of low-tack tape. Tuck them behind so they don't show, or put them out front and make the tape part of the look. Then close the frame.
A photo-booth strip, a few Polaroids, Nan's handwritten recipe.
Looking after it.
- Dust with a soft, dry cloth
- Spray glass cleaner onto the cloth
- Spraying straight onto the glass
- Direct sun, which fades photos and paper over time
- Damp walls and bathrooms
Arrived damaged?
- Take photos of the damage and grab your order number.
- Email them to us, ideally within 48 hours of delivery.
- Keep the packaging until we've sorted it.
We'll repair, replace or refund it.
Email us